Showing posts with label bread. Show all posts

Monday, September 04, 2023

5-Star Cinnamon Rolls

I wanted to have some bakery-like cinnamon rolls. I remember having cinnamon rolls at various at Cinnabon or Saint Cinnamon stores in Manila.  The rolls were prepared on site and I enjoyed watching them roll out the dough, spread the butter, sprinkle the cinnamon sugar, roll up the logs, etc. 

I have made several batches of cinnamon rolls over the years using different recipes.  The recipe from The Pioneer Woman was the one I used when I made rolls to give away one Christmas.  For some reason, I decided to check google for my new cinnamon roll adventure.  

I decided to try one that claimed to be the BEST cinnamon rolls in the WORLD, and one that would lead me never to go back to any other recipe once I had tried this one.  

What can I say?  The recipe made truly excellent cinnamon rolls.  The cream cheese frosting made it so much better.

Will my quest for a cinnamon recipe end with this one?  I cannot make that promise.  What I can say is that I normally don't bother to rate the recipes I try but I took the time to give this one a 5-star rating. In addition, I am 100% sure I will get a request for this recipe to be repeated.  

I made the dough on Friday night.  


They were in the fridge overnight.  


The second rise happened on Saturday morning.  The rolls were ready in the afternoon.  


We enjoyed the cinnamon rolls with the cream cheese frosting at dinner and for Father's Day breakfast.


CINNAMON ROLLS 
Makes 9 cinnamon rolls.

DOUGH :

·         ¾ c warm milk

·         2 ¼ t active dry yeast

·         ¼ c granulated sugar

·         1 egg plus 1 egg yolk, at room temperature

·         ¼ c butter, melted

·         3 c bread flour, plus more for dusting

·         3/4 t salt

FILLING :

·         2/3 c dark brown sugar

·         1 ½ T ground cinnamon

·         ¼ c butter, softened

CREAM CHEESE FROSTING :

·         4 oz cream cheese, softened

·         3 T butter, softened

·         ¾ c powdered sugar

·         ½ t  vanilla extract

 Instructions 

1. Heat milk in microwave safe bowl on high for 40-45 seconds (110 degrees F).  Sprinkle yeast on top of warm milk, add 1 t of the sugar and let bloom. 

2. In bowl, place flour, rest of the sugar and salt.  Make a well and pour in yeast mixture.  Add egg, egg yolk and melted butter. Mix until well combined.  

3. Knead 8-10 minutes until dough forms. 

4. Transfer dough ball to a well-oiled bowl, cover with plastic wrap and a warm towel. Allow dough to rise until double in size (~ 1 to 1 ½ hours) 

5. Transfer dough to a well-floured surface and roll out into a 14x9 inch rectangle. Spread softened butter over dough, leaving a ¼ inch margin at the far side of the dough.

6. In a small bowl, mix together brown sugar and cinnamon. Press down cinnamon sugar over buttered dough.

7. Tightly roll dough up along the 9-inch side.  

8. Cut into nine 1-inch sections.  

9. Place cinnamon rolls in a greased 9x9 inch baking pan or round 9 inch cake pan. Cover and let rise for 30-45 mins.

10. Preheat oven to 350 degrees F. Bake cinnamon rolls for 20-25 minutes or until just slightly golden brown on the edges.  Let cool 5-10 mins before frosting. 

To make the frosting: 

1. In the bowl of an electric mixer, combine cream cheese, butter, powdered sugar and vanilla extract. 

2. Beat until smooth and fluffy. 

3. Spread over cinnamon rolls and serve immediately. 


Saturday, May 20, 2023

Popular Japanese Milk Bread

What kind of bread should I try with my new pans?  MyGirl requested that I make Japanese Milk Bread.  

I checked Google and discovered that the NYT Cooking site had great reviews for their Milk Bread recipe. The second runner up did not even come close.  It doesn't take a rocket scientist to decide to stick with the one that New York Times and over 2,200 people have given their thumbs up.


It was a good thing that back in 2021, my high school classmate Eclair introduced me to Bake With Paws and her Yudane vs Tangzhong method because the way the NYT recipe was written, the half cup of water was not in the list of STARTER ingredients.  I had added some water into the pan when I was making it because the roux seemed too thick and did not approximate the tangzhong I had made in the past.  

Admittedly, the additional water was in the main recipe so if I had followed the recipe to the letter, I would have seen that I needed to add water.  It was only when I had finished and re-read the recipe and gone through some of the comments in the site that I realised how glad I had followed my instincts to add water, instead of relying solely on my (poor) speedreading skills.

Check out the NYT Cooking site for the actual recipe.  Below is my rough set of instructions.  The sugar in the dough can be reduced to 2 T if one does not want the bread to be too sweet.

This recipe is definitely a winner.  

JAPANESE MILK BREAD 

STARTER
o    ⅓ c /45 g bread flour
o    ½ c /120 ml whole milk
o    ½ c /120 ml water  
DOUGH
o    2½ c / 325 g bread flour
o    ¼ c / 60 grams sugar
o    2t / 7 g active dry yeast
o    1 t /4 g salt
o    1 egg
o    ½ c / 120 ml warm whole milk (+extra for brushing on the unbaked loaf 
o    ½ c starter 
o    4 T / 60 g unsalted butter, cut into pieces at room temperature (+ extra for greasing bowl and pan)   


1.   In small heavy pot, whisk starter ingredients together until smooth.  Simmer over medium low heat, stirring often, until thickened but pourable (~ 10 mins).  Spoon will leave tracks at the bottom of the pot when it is ready.  The starter is good for two loaves.   

2.    In stand mixer bowl, combine flour, sugar, yeast and salt.

3.    Add egg, milk and ½ cup starter. Turn the mixer on low speed and knead for 5 minutes.

4.    Add soft butter and knead another 10-12 minutes until the dough is smooth and springy (will still be tacky).

5.    Lightly butter the inside of a bowl.  Shape dough into a ball and place in prepared bowl. Cover and let rise in a warm place until doubled in size (~ 40 to 60 mins).

6.   Punch down dough and transfer to work surface.  Cut dough in half. Lightly form each half into a ball, cover again and let rise 15 minutes.

7.   Preheat oven to 350 degrees. Generously butter a 9-by-5-inch loaf pan.

8.   Using a floured rolling pin, gently roll out one dough ball 12 x 6 inch oval. (Dough should be moist but not sticky.)

9.   Make a 6x6 square by folding the top 3 inches of the oval down and the bottom 3 inches up. Then roll up the dough into a fat log, then place the log in the buttered pan, seam side down and crosswise, nestling it near one end of the pan. Repeat with the other dough ball, placing it near the other end of the pan.

10. Cover and let rest 30 to 40 minutes more, until the risen dough is peeking over the edge of the pan and the dough logs meet in the center. Brush the tops with milk and bake on the bottom shelf of the oven until golden brown and puffed, 35 to 40 minutes.

11. Let bread cool in the pan 10 minutes, then remove to a wire rack and let cool at least 1 hour. (Cutting the bread too soon will cause bread to deflate.)  


Sunday, December 26, 2021

Baking Memories


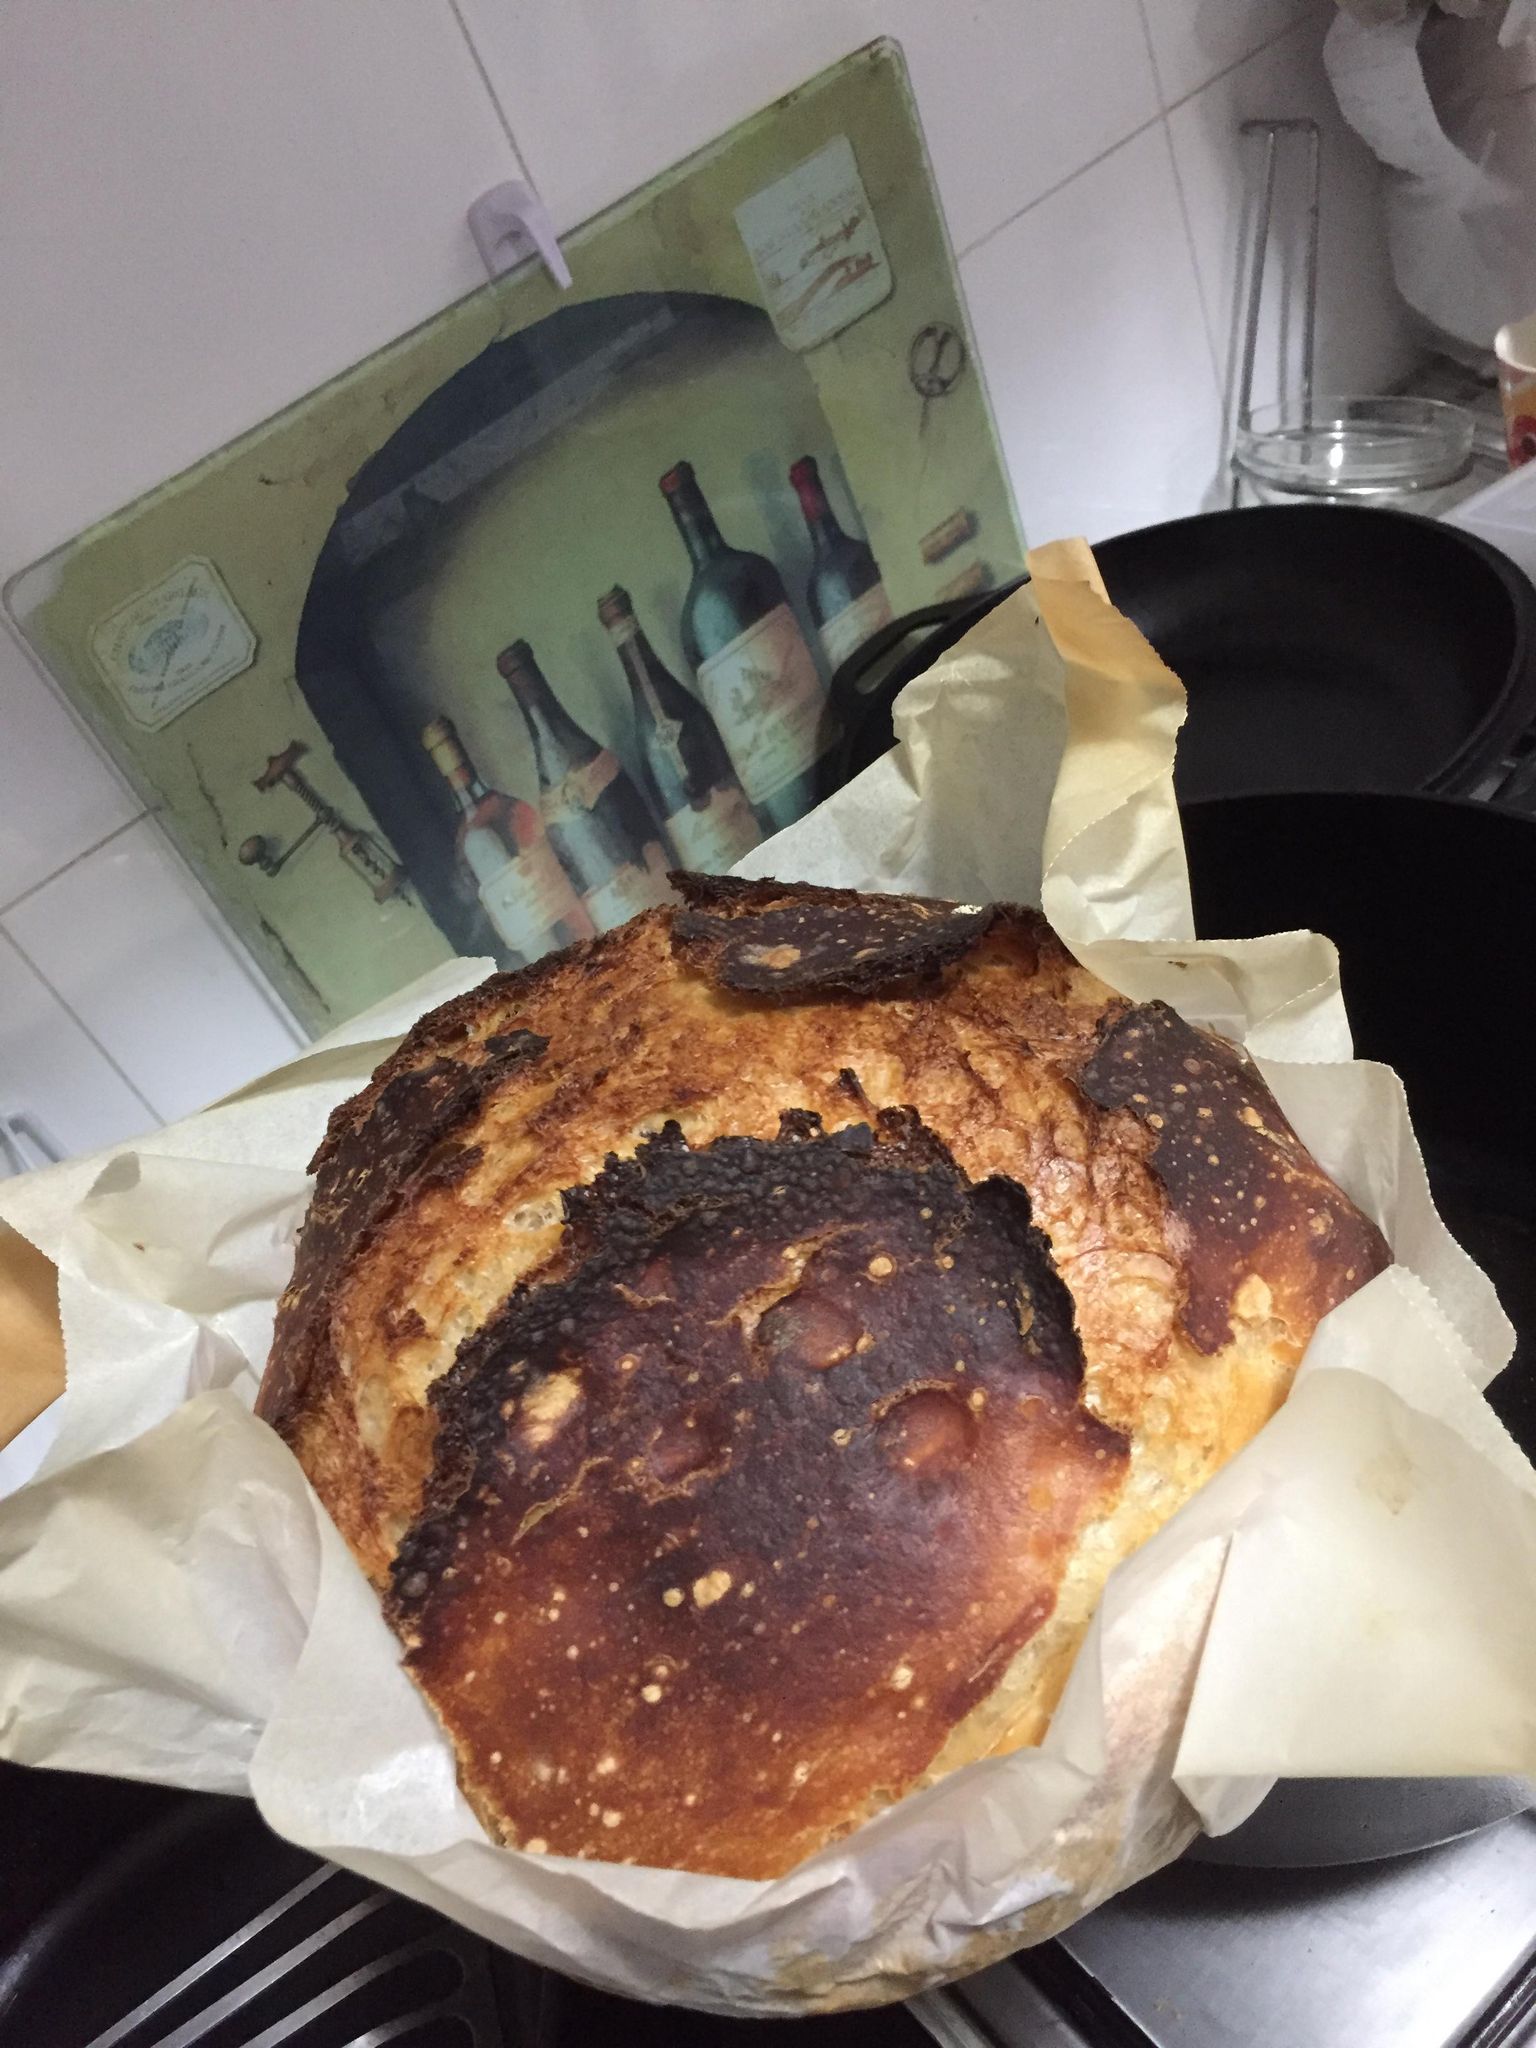
We have a long weekend due to the Christmas Day and Boxing Day holidays.  I brought out my sourdough starter on Friday, mixed up the dough on Saturday, and baked the loaf on Sunday.  I have to admit that my sourdough bread does not have the best batting average.  There are days that the loaf does not rise and the bread ends up quite dense.  I am happy to report that today's loaf was awesome.

When I pulled the bread out of the oven, I was momentarily transported to the dining room at Cebu Avenue. I remember Father bringing home sourdough bread from his US trips.  San Francisco Fisherman's Wharf Sourdough bread.  That was always a treat.  We would take a slice of the bread, moisten the crust, toast the slice, then eat it with butter.  Oh, the joy! (Let's just not count the calories.)

Sourdough bread always brings Father back even if my homemade version isn't quite the same.

Am still using the same sourdough bread recipe but have reduced salt to 14 g.  


Monday, October 11, 2021

So Much for Low Carb

Over the weekend, I caught up with my baking experiments.  I was able to try out recipes for pizza and focaccia that I had found in the internet. Both of these are from natashaskitchen.com.  

MacGyver took this photo of the pizza while we were still putting on the toppings. 


I took this photo of the focaccia after I transferred them to the rack to cool.  
At the time, MyGirl was checking the internet for the correct pronunciation of "focaccia."


Thursday, September 02, 2021

Sourdough Restarted

My friend GeeZee gave me some sourdough starter in 2018.  I was making decent batches of bread and managed to keep the starter alive for almost two years until I accidentally knocked over the container in the fridge.  The whole batch spilled and by the time I discovered what happened, the starter had solidified.   I was told I could have still revived the starter but by then I had already thrown the starter bits in the bin.  Besides, I don't think I would have wanted to bake bread with fridge germs.  Fortunately, when I mentioned my starter's demise to GeeZee last year before the lockdown, she offered to give me a fresh batch.  

I wanted to try a new sourdough bread recipe I had chanced upon on YouTube.  I had written out the recipe on a notebook last weekend and I asked MyGirl to mix up the initial batch of dough while I was getting some grocery on Saturday. When I got back, she said that the dough seemed a bit dry so she had added some water to the recipe.  I told her not to worry and that I was sure it would turn out fine.  

The next part of the breadmaking process was mostly waiting for the dough to double in size.  (In other words, MyGirl had done most of the hard work.)  I found the dough easy to handle.  When I got to the baking part of the bread on Sunday, I was happy to see that the oven spring was pretty good.  

The bread was pretty good although we could definitely tell that there was salt in the recipe.  In fact, I had specifically bought non-iodized salt which The Ultimate Food Geek shared as one of the tips in his sourdough bread video. The texture and the smell of the newly baked loaf reminded me of the sourdough bread that Father used to bring home when we were younger.  

I had compared the usual recipe I used with this new one.  The basic ingredient amounts were not significantly different so perhaps the secret of a great sourdough loaf is the use of non-iodized salt.   


 Sunday 29 Aug 2021.


Thursday 02 Sep 2021


Ingredients:

4 oz (113 g) starter

12 oz (340 g) filtered water; not warm

1 lb 4 oz (567 g) flour; if using 8 oz whole wheat flour, add 10oz water

3/4 oz (21 g) salt; not iodized 


Combine starter and water in a big bowl

Add flour and salt and mix until all moist

Cover and let rise until double in size (12 - 24 hours)

Turn out dough on lightly floured surface (do not punch down)

Shape the loaf by using lightly floured hands and tucking the edges of the loaf underneath the loaf to get a smooth surface. 

Generously flour the surface of the dough. 

Cover and let rise until double in size (2 - 4 hours).  


a) If using loaf pan, form into loaf and let dough rise in oiled loaf pan. 

   Then bake 40 minutes in preheated 500F oven.

b) If using dutch oven, let dough rise in separate bowl covered with heavily floured cloth. 

   Place dutch oven inside oven then preheat oven to 500F.

   Carefully place dough inside the dutch oven then score top.

   Reduce oven temperature to 425F.  Cover dutch oven and bake for 30 minutes.

   Remove lid and bake additional 15 minutes.


Let cool before slicing the bread.


Monday, August 23, 2021

Sunday Cinnamon Roll

I had intended to try another ensaymada recipe this morning.  I measured half a cup of water, warmed  it up and added the sugar and yeast.  When I reviewed the ensaymada recipe I wanted to try, I realised it needed softened butter and the butter was definitely not soft since it was still sitting in the fridge.  

I looked at the measuring cup on the counter and I could see that the yeast was active.  I wasn't sure if the yeast would remain active if I waited for the butter to soften, so I looked for another recipe to try.  

I settled on a cinnamon roll recipe I had saved a couple of months back and adapted it accordingly. 

Ingredients: 
1/2 cup warm water
1/2 cup granulated sugar
1 T yeast
1 1/2 cup warm milk
4 tablespoons butter, melted 
1 teaspoon salt
1 tablespoon cardamom, freshly ground
1 egg for the dough
1 egg for the eggwash
4 to 5 cups all-purpose flour

Filling :
2 T ground cinnamon
1/2 to 3/4 cup brown sugar
1/4 c melted butter

Instructions :
1. In a small bowl, combine warm water, 1 T of sugar, and 1 T yeast.  Allow to rise for 10 minutes or until bubbly.
2. In a mixing bowl, combine 4 cups of flour, rest of the sugar, salt, cardamom. Stir to combine.
3. Add yeast mixture, milk, butter, and 1 beaten egg into the flour mixture.
4. Knead on medium speed until dough is smooth and shiny, add flour if dough is too sticky.
5. Place dough in oiled bowl, cover and let rise until double in size (about 1 hour).
6. Combine brown sugar and cinnamon in a small bowl.
7. When dough has risen, punch down and divide into equal halves.
8. Using a rolling pin, roll each half into 8 x 14 inch rectangle.
9. Brush the melted butter over each half of the dough and sprinkle cinnamon sugar.
10. Roll the pastry up from the small side then cut 7 x 2-inch triangles from each log.
11. Grease a cookie sheet lightly and place the cinnamon rolls on the sheet (seam side down).  
12. Press the centre of the roll so the sides bulge out.
13. Cover with a towel and allow to rise for another hour until double in size.
14. Preheat oven to 400F.
15. Once risen, whisk egg in small bowl and brush tops of the cinnamon rolls.
16. Bake for 10-15 minutes until golden brown.  Serve plain or with icing.

Sunday, August 08, 2021

Multi-Purpose Memorised Bread

Sister Deer is in Manila to be with Mother.  During one of our video chats, I had mentioned baking bread, and she said she had a recipe she uses all the time in HK.  According to her, she uses it for a variety of baked goodies.  I asked her to share it with me and started rattling off ingredients.  

Whoa!  Slow down, girl.  Please send it via email.  My brain can only take so much information.

She sent me this recipe which I decided to test as cinnamon rolls because I wanted to use up some raisins I had in the pantry.  I had plumped up the raisins and parked them in the fridge while waiting for the dough to rise.  In the end, I forgot to put in the raisins but the cinnamon rolls turned out quite well.  

Thanks for the recipe, Sister Deer.

3 cups flour
1 cup warm milk
1 tablespoon yeast
1 tablespoon sugar
1 pinch of salt
1 egg
1/4 cup butter

Add the yeast to the warm milk. 
Add mixture to the flour. 
Add egg and salt. Beat for around 4 minutes then add the butter.
Continue kneading until dough is smooth

Let rise for around 1 hour. 
Shape into desired shape and let rise for around 45 minutes.. 
Bake 18-20 minutes at 350F until golden brown


Wednesday, June 17, 2020

Ube-Coloured Pan de Sal

For some odd reason, ube pan de sal has become such a craze in Manila during this pandemic.    Naturally, I wanted to give it a go since MacGyver is such an ube fan.  

My first batch in May was pretty good.  I even packed two pieces to give to our GP (who is a Filipino) when I went in for a consult.  I handed them over to him in a ziploc bag with full disclosure that it didn't really taste like ube but it was a decent tasting pan de sal.

I had been thinking about making a second batch but hadn't gotten around to looking for the recipe. Then out of the blue, a friend sent me a link from pagkaingpinoy.com for the ube cheese pandesal recipe this morning.  I took it as a sign and started the breadmaking process before logging in for work thinking I could squeeze in the forming and baking during my lunch break. 

The dough rose beautifully.


Unfortunately, there was so much work to do that I did not get much of a lunchbreak and therefore  did not have time to work on the pan de sal.

I did manage to punch down the dough and divide them into 24 pieces this afternoon. I also cut 24 pieces of cheese to put inside the dough however, I wasn't able to form the pieces until after 5PM.


I was still busy working but I had already gotten this far and I there was no turning back.

I rolled the dough in breadcrumbs before attending a call.


Then baked them while I was in the middle of a meeting.


By the time my meeting ended, RD had already eaten two pieces.
(They still did not taste much like ube but they were still very yummy.) 


Thursday, August 09, 2018

Pan de Azucar

I borrowed a Filipino cookbook from the library and wanted to try the pan de sal recipe straightaway.  The recipe had a half cup of sugar.  I thought it was quite strange that the pan de sal recipe had more  sugar than salt but I wanted to test the recipe before I dismissed the volume of sugar.

When I tried it out, I was amazed at the bread that came out of the oven.  It was the BEST pan de sal I ever baked.  I shared the recipe with my siblings, my Filipino officemates and with GI.  I am hoping they get as excited about this bread as I do.

Who would have thought that the secret of good pan de sal was actually sugar?


Pan de Sal  (makes 20)
1/2 c lukewarm water
2 1/4 t active dry yeast
1 t sugar
1 c water
3 T oil
1/2 c sugar
1 T salt
5 c flour
3 T breadcrumbs 
Place lukewarm water in a bowl.
Add yeast and 1 t sugar.
Let sit for 15 minutes until bubbly.
Add the rest of the water, oil, 1/2 c of sugar, salt and flour a little at a time.
Mix thoroughly and knead the dough on a floured surface until smooth and pliable.
Place kneaded dough in a lightly greased bowl.  Cover and let rise until doubled (about 2 hours).
When dough has doubled, punch down and divide into four.
Roll dough into logs and divide into five pieces each.
Roll sliced pieces of dough in breadcrumbs then place on a lightly greased baking sheet.
Let rise in a warm place for about 1 hour until double in size.
Bake the rolls for about 20 minutes in preheated oven at 325F or160C until lightly browned.  


Sunday, July 30, 2017

Let's Rock and Roll

I followed a link to a recipe for crescent rolls.
Reportedly, the rolls were so good they are called Heavenly Rolls.
I wanted to check them out myself.

My kitchen assistant for this baking experiment was RD
(MyGirl was busy studying.) 
Usually, RD is just involved in the eating part
but for this set of goodies, he was with me all the way.


They turned out beautifully, or shall I say heavenly.
It is definitely a keeper.


Heavenly Rolls

  • 1 T yeast
  • ¼ C warm water
  • ½ t sugar
  • 1 C warm milk
  • ½ C vegetable oil
  • ½ C sugar
  • 1 t salt
  • 4-5 C flour, divided
  • 2 eggs
  • butter, melted

  1. Mix  yeast with warm water and ½ t sugar. Let stand until bubbly.
  2. In a large bowl mix milk, oil, ½ c sugar, and salt with a wooden spoon.
  3. Add 1 c of flour to mixture and mix well. Add 2 eggs and beat until smooth.  
  4. Add yeast mixture and mix vigorously until smooth.
  5. Add 3-4 cups flour to the yeast mixture. Dough will be very sticky. Cover and let rise until double in size (1 or 2 hours).  
  6. When dough has doubled in size, punch down and divide in half.
  7. Roll dough onto a floured surface making a circle about 12 inches round. Dough should be about ⅜" thick.
  8. Brush dough with melted butter. Cut circles with a pizza cutter into 12 pieces (like a pizza). Roll from rounded edge to the point to make a crescent roll. Place into a large greased pan (11 x16)
  9. Cover rolls and let rise for a few hours until double in size.
  10. Bake at 375 for 15-20 minutes until light lightly browned.  NOTE: Touch rolls to see if they bounce back - if they do not, bake a little longer.
  11. Brush with melted butter right while warm. 

Saturday, January 24, 2015

Not Quite 30 Minute Rolls

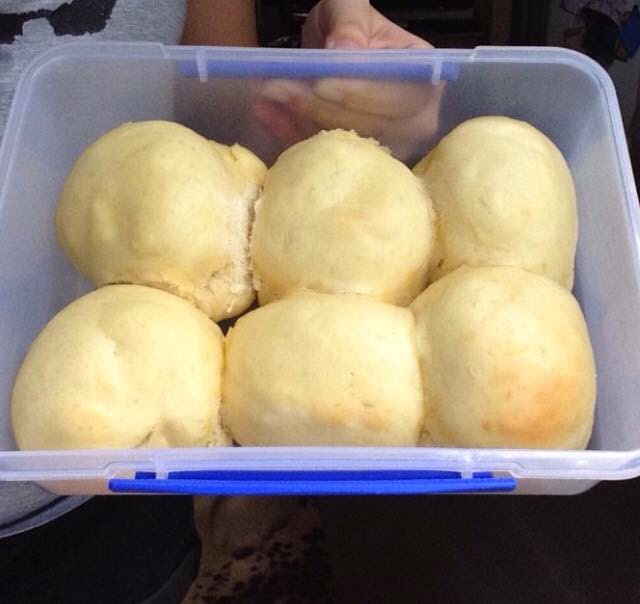
I finally convinced Eldest Sis to bake bread (sort of kinda).  OK.... Let's just say she finally decided she wanted to try and bake bread so that they could have bread with some dipping oil they have at home.   The fact remains ... Eldest Sis successfully baked some bread during the Martin Luther King holiday!  (One more convert.  Hurrah!)
This was the recipe she tried : http://www.yourhomebasedmom.com/30-minute-rolls/
We were on Skype today and I said I'd try it out as well.  Of course between the to-ing and fro-ing from the kitchen counter to the PC, things did not really turn out as I had intended.  I thought the original recipe had too much yeast and too much sugar.  So I decided to half the yeast and half the sugar amounts.  What I did not realise is that I had used a half cup extra water from what the recipe called for (no wonder the dough was so sticky!), so naturally I needed to add more flour.  
Anyway, I was halfway through kneading when I realised I had used too much water.  And while we are in the topic of using the wrong amounts,  the rolls were already out of the oven when I realised that I had used 1/4 c of oil instead of the recipe's 1/3 c.  (Is it my eyesight or my memory that is going?)
I ended up making 15 rolls instead of the recipe's 12.  In other words, I didn't really follow the recipe with the exception of using the right number of eggs (1) which was kind of hard to get wrong.  I shall call them tweaking the recipe (some quite unintentionally) 
The bread was nice and soft.  It is definitely a keeper.   This is essentially the pizza dough recipe we use with the addition of an egg.  


Ingredients
  • 1 ½ C warm water
  • 1 Tbsp active dry yeast
  • 2 Tbsp sugar
  • 1 egg
  • 4 Tbsp vegetable oil
  • 1½ tsp salt
  • 4 ½  - 5 C  flour 
  • melted butter (optional)

Instructions
  1. Heat water in glass pyrex.  Sprinkle yeast over water.  Add in sugar.  Mix to combine and let sit until foamy (5 to 10 mins).
  2. In a big bowl combine about 4 cups of flour and salt.  Make a well.
  3. Pour in yeast mixture. Add egg and oil.
  4. Mix together (use fork to combine if too sticky at the onset). 
  5. Add flour as you knead to get dough into elastic ball (about 8 to 10 minutes).  
  6. Heat oven to 400 degrees. (Can be your step 1 but starting the oven here will give dough extra time to rise)
  7. Form dough into 12-15 balls and then place in a greased 9 x 13 pan and allow to rest for 10 minutes (until oven is right temperature). 
  8. Bake for 10 - 15 minutes at 400 degrees or until golden brown.
  9. Brush the rolls with melted butter when they come out of the oven.